photo HEADER2_zpsztxreyz7.png

Saturday, December 17, 2016

Soft & Chewy Gingerbread Cookies


Hi y'all!  Christmas is ONE week away!!!  Gingerbread cookies have always been a cookie that I could pass on.  Which is pretty incredible because I love almost every form of sugar.  This year I wanted to try one of my favorite cake mix cookie recipes using a gingerbread cake mix.  Now I am sure your are thinking, "there is a gingerbread cake mix?!"  Well, no there isn't.  I thought there would be one with all the holiday baking specials but I was wrong.  Then I spotted this...


My first thought was, that is LAME LESLIE.  Make cookies with a cookie mix...come on, you can do better!!!   But then I read the ingredients which were almost identical to a cake mix and decided to go for it. 

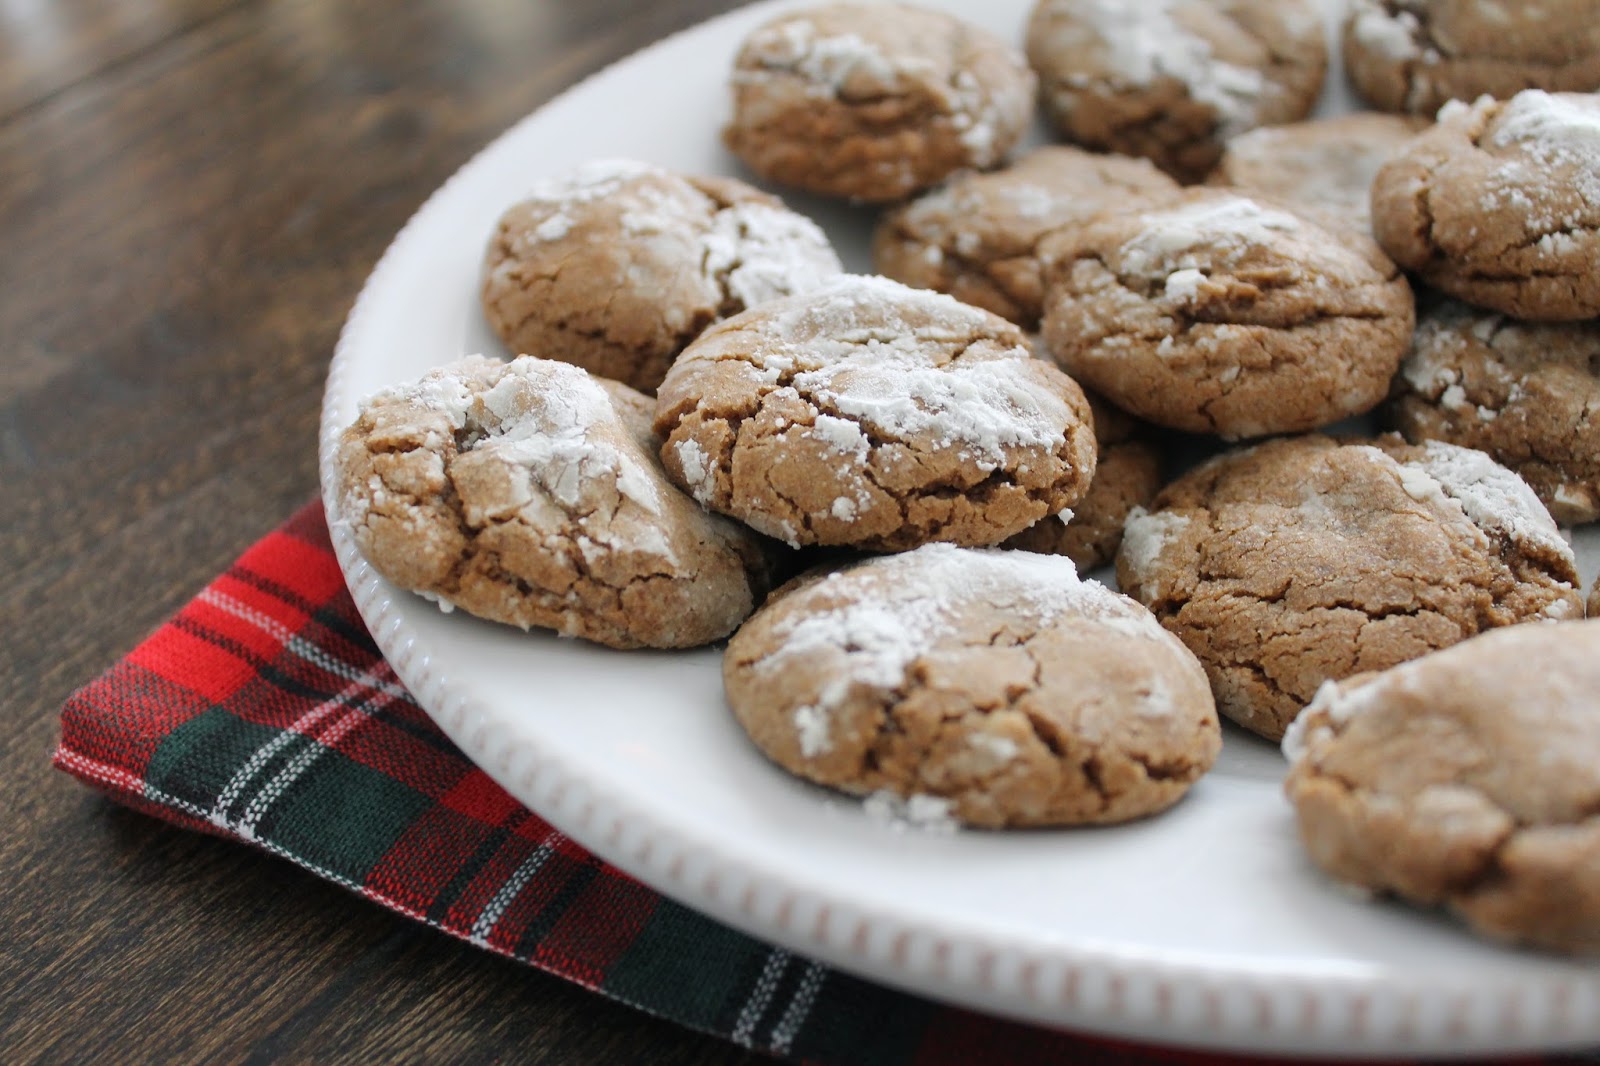
Soft and Chewy Gingerbread Cookies

Ingredients:

Betty Crocker Gingerbread Cookie Mix
2 Eggs
1/3 Cup Vegetable Oil
Powder Sugar

Directions:

1.  Preheat oven to 375 degrees.   
2.  First remove a 1/4 cup of cookie mix and dispose {cookie mix came with too much...mix :) }.  In a mixing bowl combine cake mix, eggs, and oil.  Mix on medium speed for about 30 seconds.  
3.  Using a 2 TBSP cookie scoop, scoop dough onto a plate with powder sugar.


4.  Roll dough in powder sugar and place on cookie sheet.  Bake for 7 - 10 minutes.


Now these are gingerbread cookies I can't say no to.  They go well with my eggs at breakfast... afternoon coffee...  and after dinner dessert... So if you make these I recommend you have people over to eat them! 


Are you doing any Christmas baking?  I still have {these} cinnamon rolls and a bundt cake to make.   :)


{Leslie}

Thursday, December 15, 2016

DIYish Christmas Tree Crate


Heyyy!  I know what you are thinking, how does she already have presents wrapped under the tree?! Just call me an overachiever this year!  ;)  I don't know how it is possible but I am actually done with our Christmas shopping.  That has to be some kind of record.  For the past couple years I have used this galvanized bucket instead of a tree skirt.  


I loved how this looked but it was not the most stable base.  Our tree base was too big for the bucket and I had use 2 x 4s so it would not fall over.  With our little Mack getting into everything this year I knew that an unstable tree could be a disaster...  Then I saw {this} image on pinterest:


 I want that to be my living room...those baseboards {heart eyes emoji} and that couch {Tall Tan Man would murder me for that one}!  At first I planned on building the crate but then I found this one at JoAnn's.  It is a little bit bigger than the normal crates you see which was perfect for the tree.


The crate is normally $30 but I had a 50% off coupon {plus 25% off my total purchase, I really love black Friday}.  I stained the crate with a 50/50 mixture of Minawax Jacobean and Weathered Oak.  I bought a faux fur blanket at Homegoods to cover the bricks in the crate that are weighing down the tree. 


I love how the crate turned out! 


I hope everyone is having a great week!  We are taking Mack to Santa soon and I can't wait to share the photos!

{Leslie}

Monday, December 5, 2016

DIY Faux Fireplace

  
Ahhh I love my new fireplace!!! Can anyone explain to me why a house was built in Colorado WITHOUT a fireplace?!  I don't get it.  I am pretty sure every house in Texas has a fireplace...  
 
When Mack was 3 weeks old I realized the grey cabinet in our sun room was very dorm-room-esq.  


Now I know what you are thinking, no woman is thinking straight with a 3 week old baby.  Very true. But as I continued sit on my tush for weeks months {those days are loooong gone} the cabinet became more and more wrong.  Just to put things in perspective, I tried to sell it on Craigs List for $40 and no one wanted it.   :( I just hope when I put it on our driveway with a sign that says "free" someone takes it.  Alright.  My grey cabinet rant is over.  
 
 
Tall Tan Man built me this fireplace because he loves me.  He used {this} tutorial from Ana White and it only took him a couple hours.    


Then he cut a back board and wood discs for me.  I painted the back board black and glued the discs on.  I first used liquid nails and that didn't hold them... It was a great surprise to wake up to! ;)  I went back and used hot glue on the fallen discs and that is holding!  I still can't believe this room use to look like this:


Looks a lot better don't you think?!
 
 
Thanks for stopping by! :)
{Leslie}
Related Posts Plugin for WordPress, Blogger...